7.3 Obtaining images
Your organization may have decided to include an image (a photograph, a signature or a scanned document) as part of a person’s record. You may be able to obtain the image in a variety of ways, depending on how your system has been configured.
- Use an existing digital image, accessible from your local machine.
- Take a photograph using a webcam.
- Scan a photograph or another document.
The option to obtain and modify an image is available as part of the
The use of webcams and scanners requires some changes to be made by an administrator.
To obtain (or change) an image, click either:
- The existing image (which may be a placeholder, as shown in the examples)
-
The Change Picture button

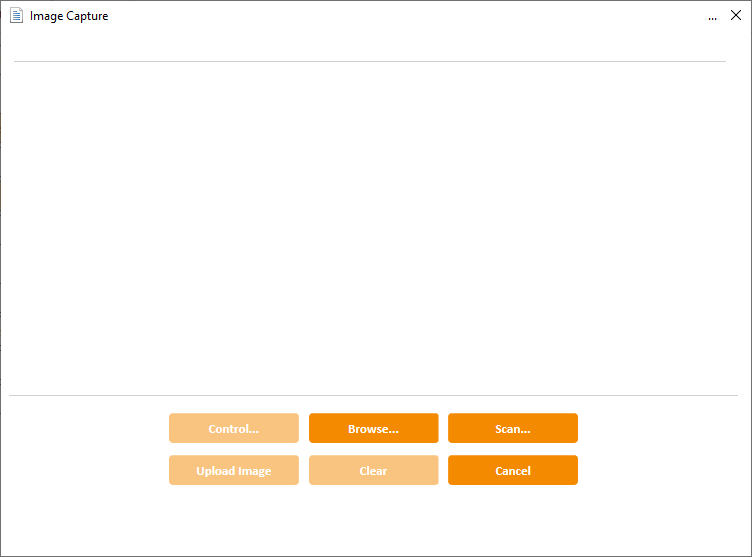
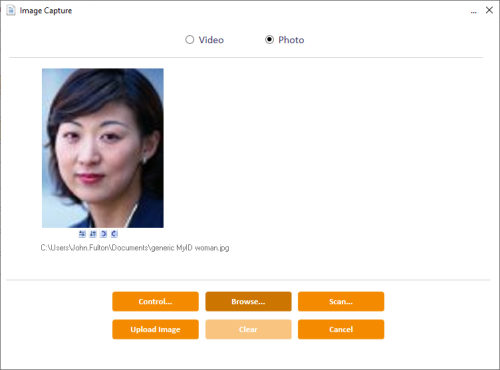
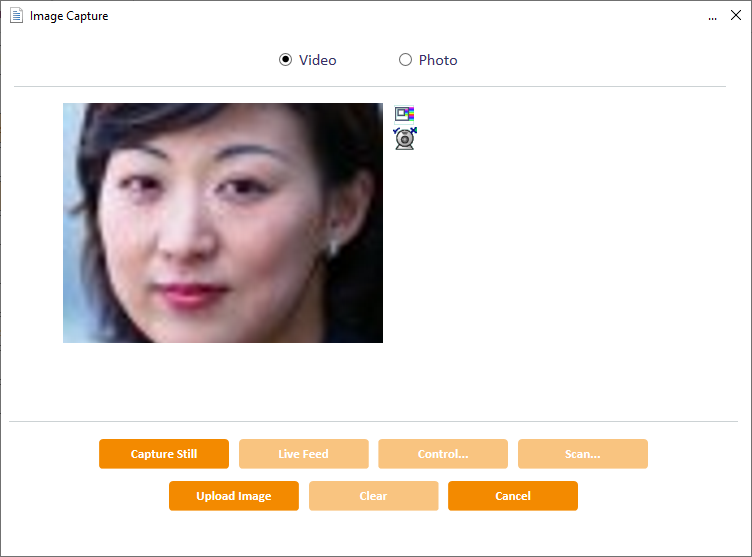
The basic Image Capture window is displayed. Depending on the options available to you, the window looks similar these examples.
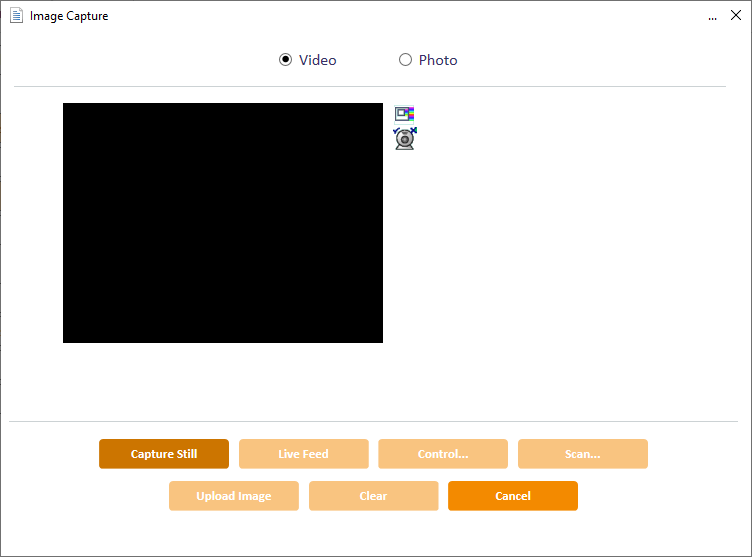
The Video option is available only when the Video Capture configuration option (on the Video page of the Operation Settings dialog) is enabled. In this case, you can switch between using a webcam (the Video option at the top of the window) and an existing image (the Photo option)
7.3.1 Using an existing image
To use an existing digital image:
- Click the Photo option to select it, if this is displayed.
-
Click the Browse button.
A standard Windows browse dialog is displayed.
-
Navigate to the file you want to use, select it and click Open.
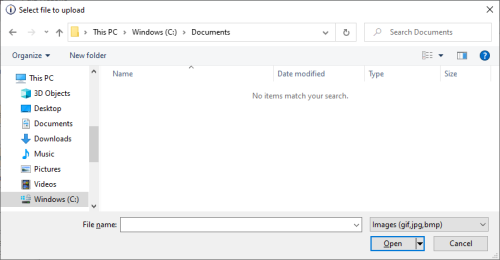
Your chosen image is now displayed in the "source" display area of the Image Capture window. The path to the file is displayed below the image.


7.3.2 Using a webcam to capture an image
To use a webcam to capture an image:
- Click the Video option to select it. It may already be selected, as this is the default if a webcam is detected.
-
Set the options for your webcam:
-
 – set the video format for your webcam. The options available depend on the webcam you are using. Some webcams will not display resolutions or pixel depths that are too low.
 -
 – set the camera settings, including brightness and contrast. The options available depend on the model of camera attached to your machine.
-
-
The current live feed (video) is displayed in the area to the left of the Image Capture window.

-
When the image you want is displayed, click Capture Still to freeze the frame.
If you want to select a different image, click Live Feed to resume the video.
7.3.3 Using a scanner to capture an image
Note: Your system must also be set up to allow scanning; this may require extra customization. Contact customer support for details.
Make sure that the following option on the Video tab of the Operation Settings workflow are set:
- Video Capture option is set to No.
To use a scanner to capture an image:
-
Click the Scan button.
This opens a connection to your scanner and may display some options that allow you to choose the area you want to scan and to specify the resolution you want to use. The options available to you depend the model of scanner you are using.
When you have chosen the most appropriate options, start the scan process.
- The document (or portion of document) you have scanned is displayed in the left of the Image Capture window.
Note: MyID may have been set up to capture information from pre-printed paper forms, which may have been completed by hand. If the zones to be scanned have been set by your administrator, it is important to make sure that you place the paper form with the top-left corner of the form at the top-right corner of the scan bed.